How to create and edit wireframes in the Relume Site Builder
Learn how to create and edit wireframes effectively in the Relume Site Builder.
In this doc, you’ll learn how to:
- How the sitemap and wireframe work together
- How to edit wireframes
- How to create additional pages
- How to create Global Sections
- How to share with your team or clients
How the sitemap and wireframe work together
Each section of the sitemap is linked directly to a section in the wireframes. If you delete a section in the sitemap, it’ll delete that section in the wireframes and vice versa.
The title and description of a section in the sitemap helps inform AI what component to generate in the wireframes. We call this the section prompt.

How to edit wireframes
Making edits to wireframes is a crucial step in the process and we’ve tried to make this as fast as possible by utilizing several keyboard shortcuts and leveraging the power of AI.
Basic Controls
Zoom In/Out
- ‘⌘’ + scroll wheel
- Two finger pinch gesture
- Holding Z + click to zoom in
- Holding Z + option + click to zoom out
Panning
- Hold spacebar and drag the canvas around
- Two finger gesture to pan around
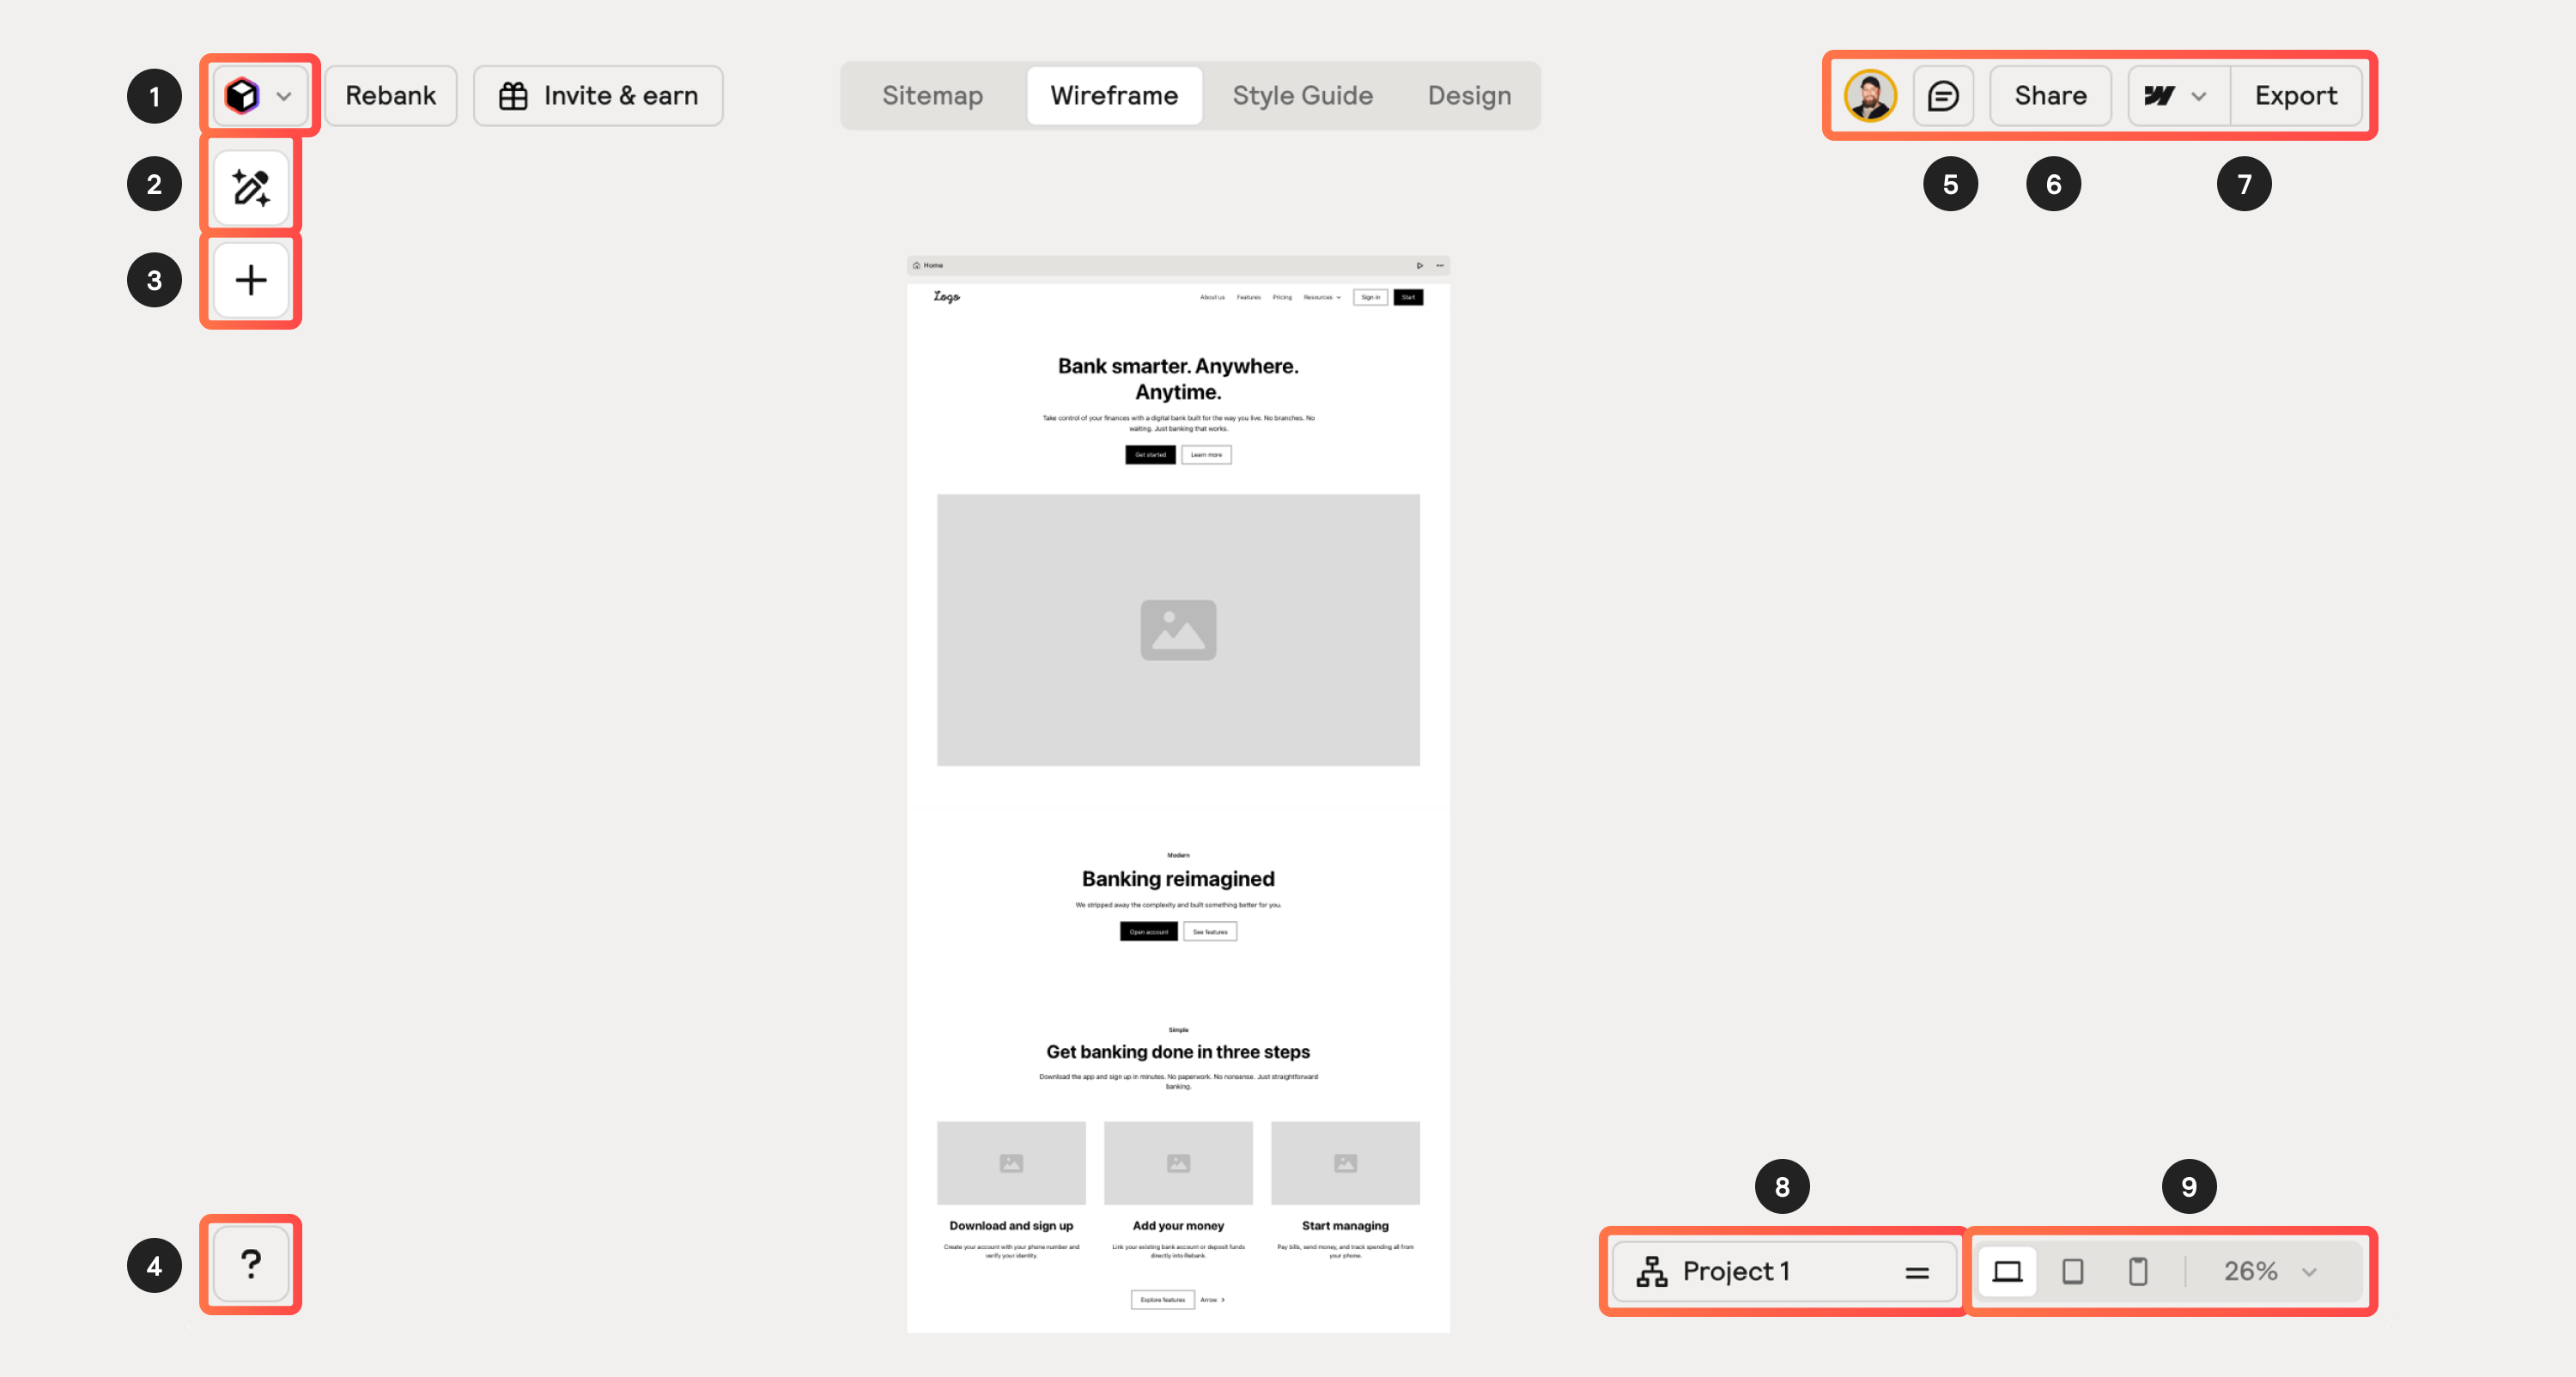
Navigation
- Relume icon menu has many different options including some of the zoom options described above.
- Edit panel (magic pencil icon) - this is where you’ll do a lot of actions within a wireframe.
- Add panel - this is where you’ll go to add components manually to your wireframes.
- Help menu - you’ll find a lot useful links here.
- Comments panel - where you’ll review client comments and replies.
- Share button top right for sharing this project.
- Export menu top right for various exporting options.
- Sitemap menu - this is where you’ll go to swap sitemaps.
- Responsive devices and zoom level bottom right.
Removing Elements
You are able to delete most elements within a component. In instances where you cannot remove an element, its because it will likely generate a broken component. Main headings of a component for instance can not be removed or for example you cannot delete the “testimonial text” from a testimonial section as this would break the components purpose.
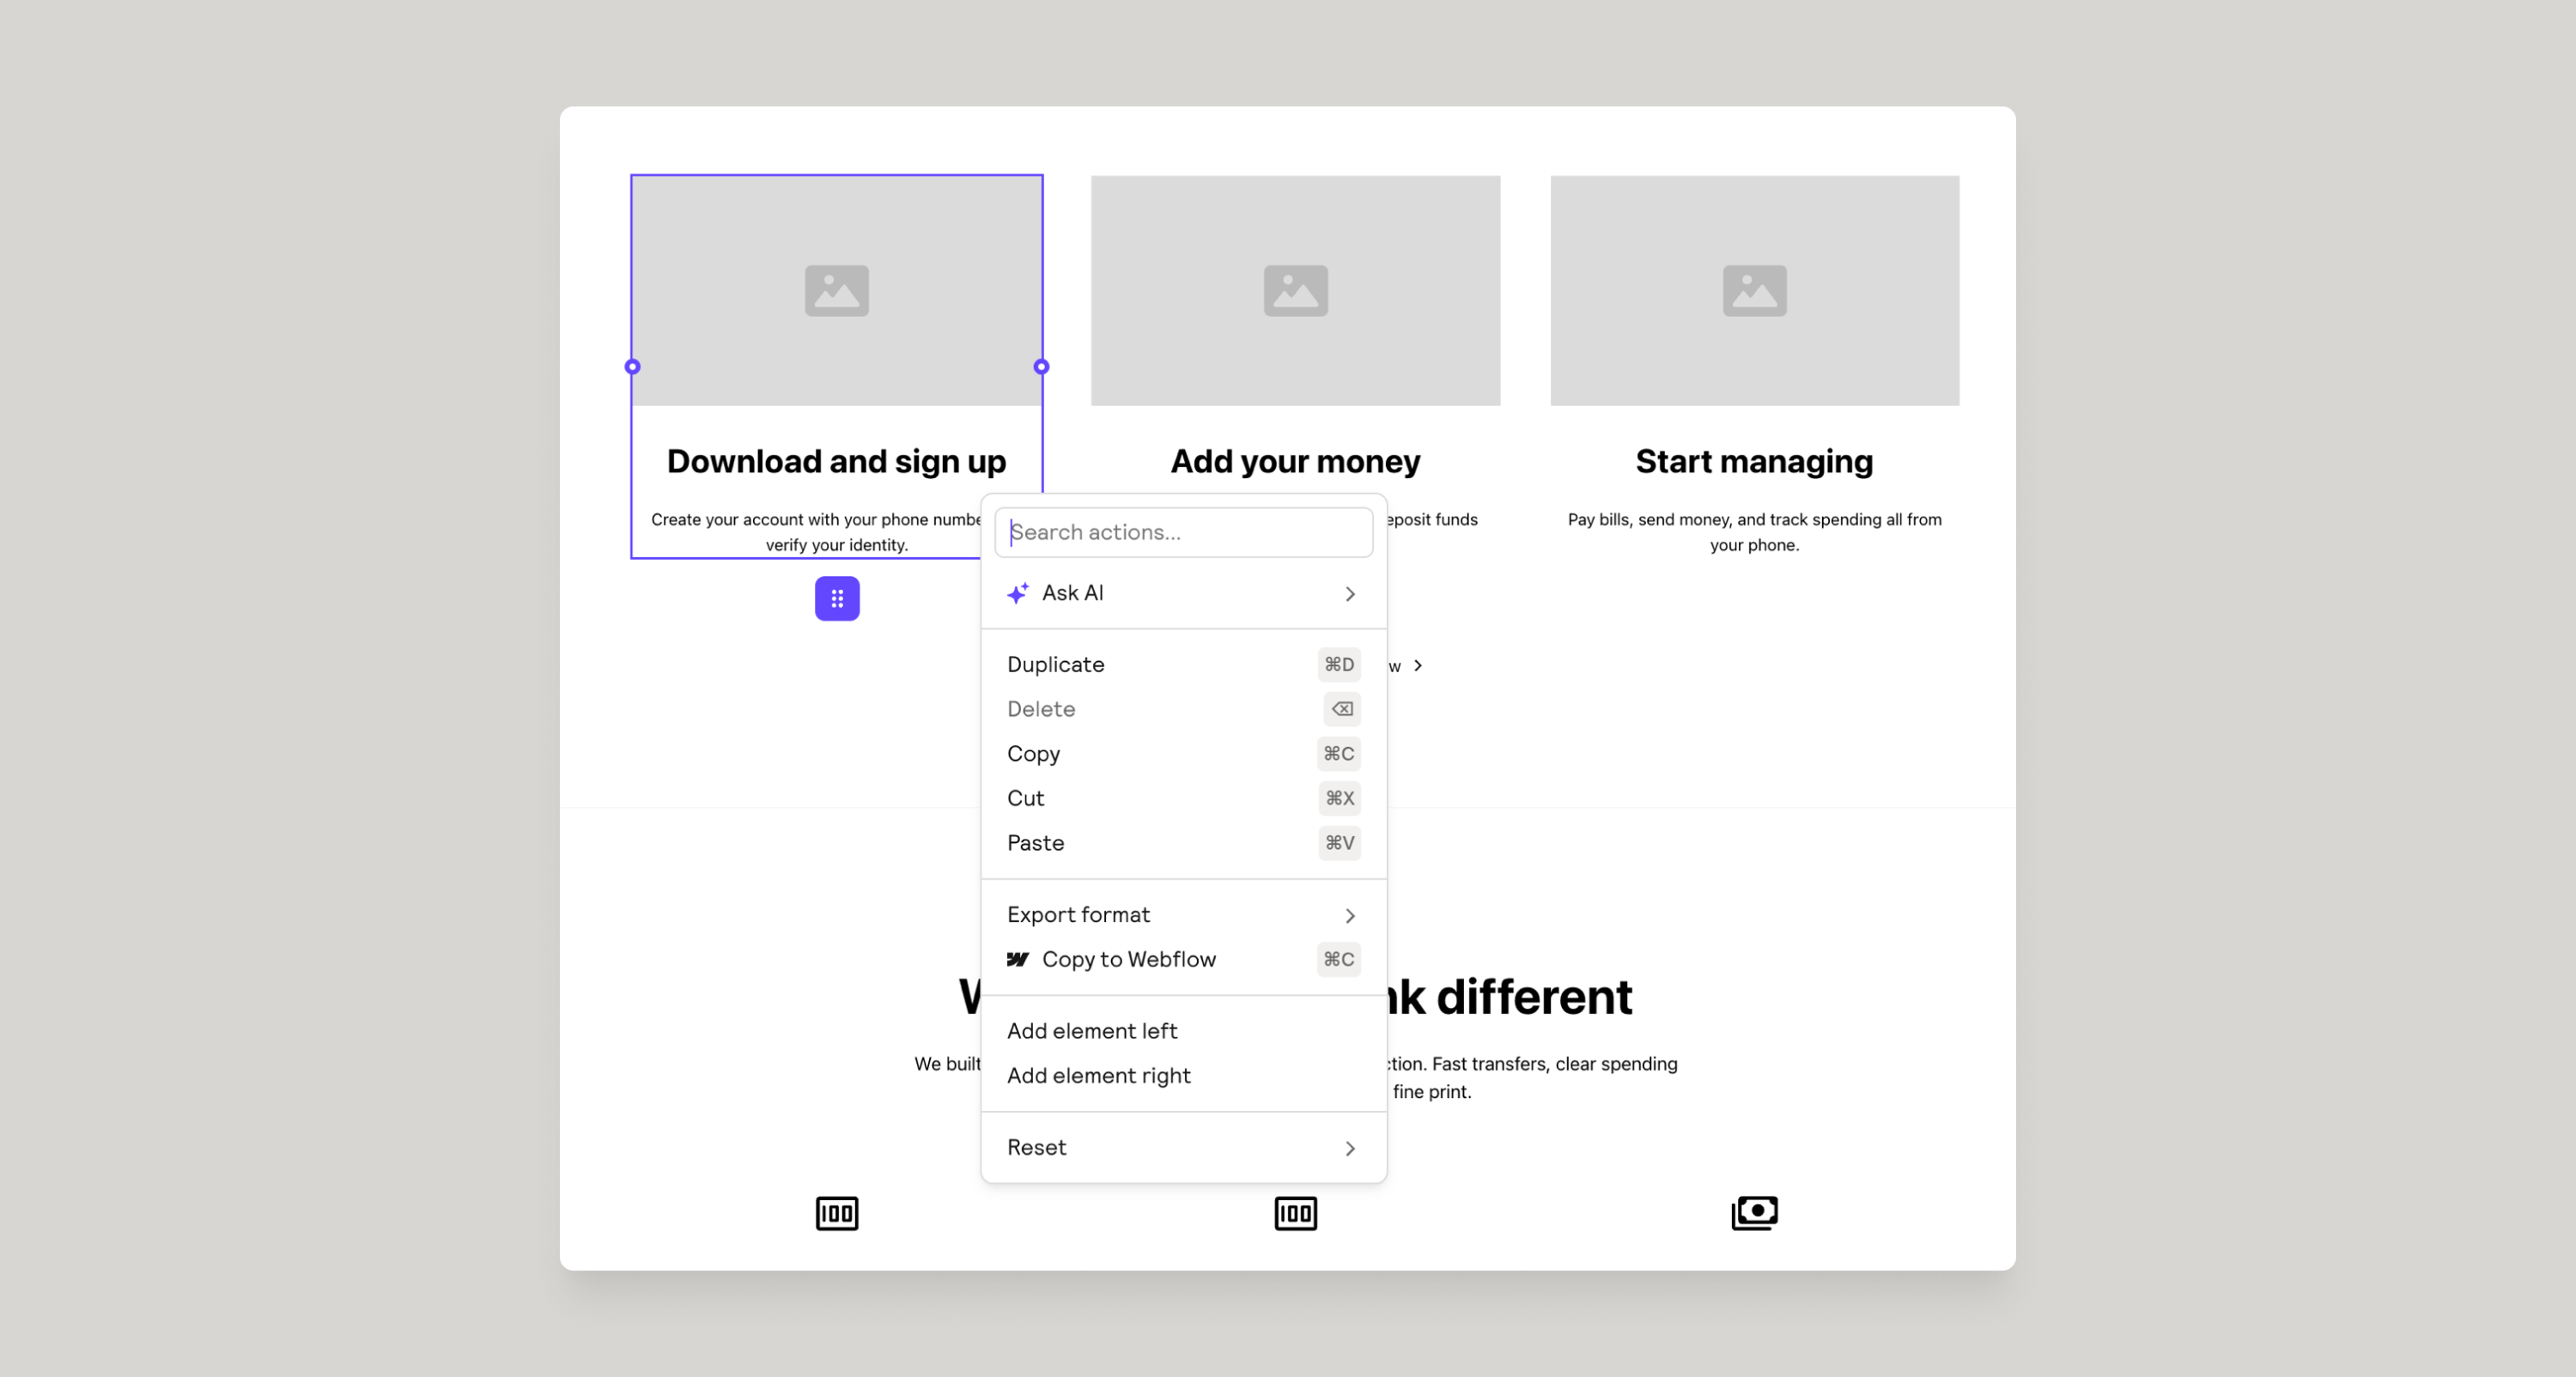
Simply click on an element and hit the delete key - or right click and select delete.
Reorder & Add New Items in list elements
Within components that have list-type elements such as a bulleted list, or a navbar links, or a team list etc, you can hover over the list item and drag to reorder that item within the list.
You can also add new items left or right of the item you are hovering over.

Reset component
If you’ve removed elements from a component and you want to bring the component back to its original state you can simply right click on the component and Reset Component > Reset All Changes. You can also choose to only reset elements, or just reset copy. If you choose reset elements, any copy changes you’ve made will be preserved.

Swapping variants
Clicking on a component will reveal an edit panel - if the component has variants you can quickly choose different options. Choosing different variants actually changes the entire component in the background.

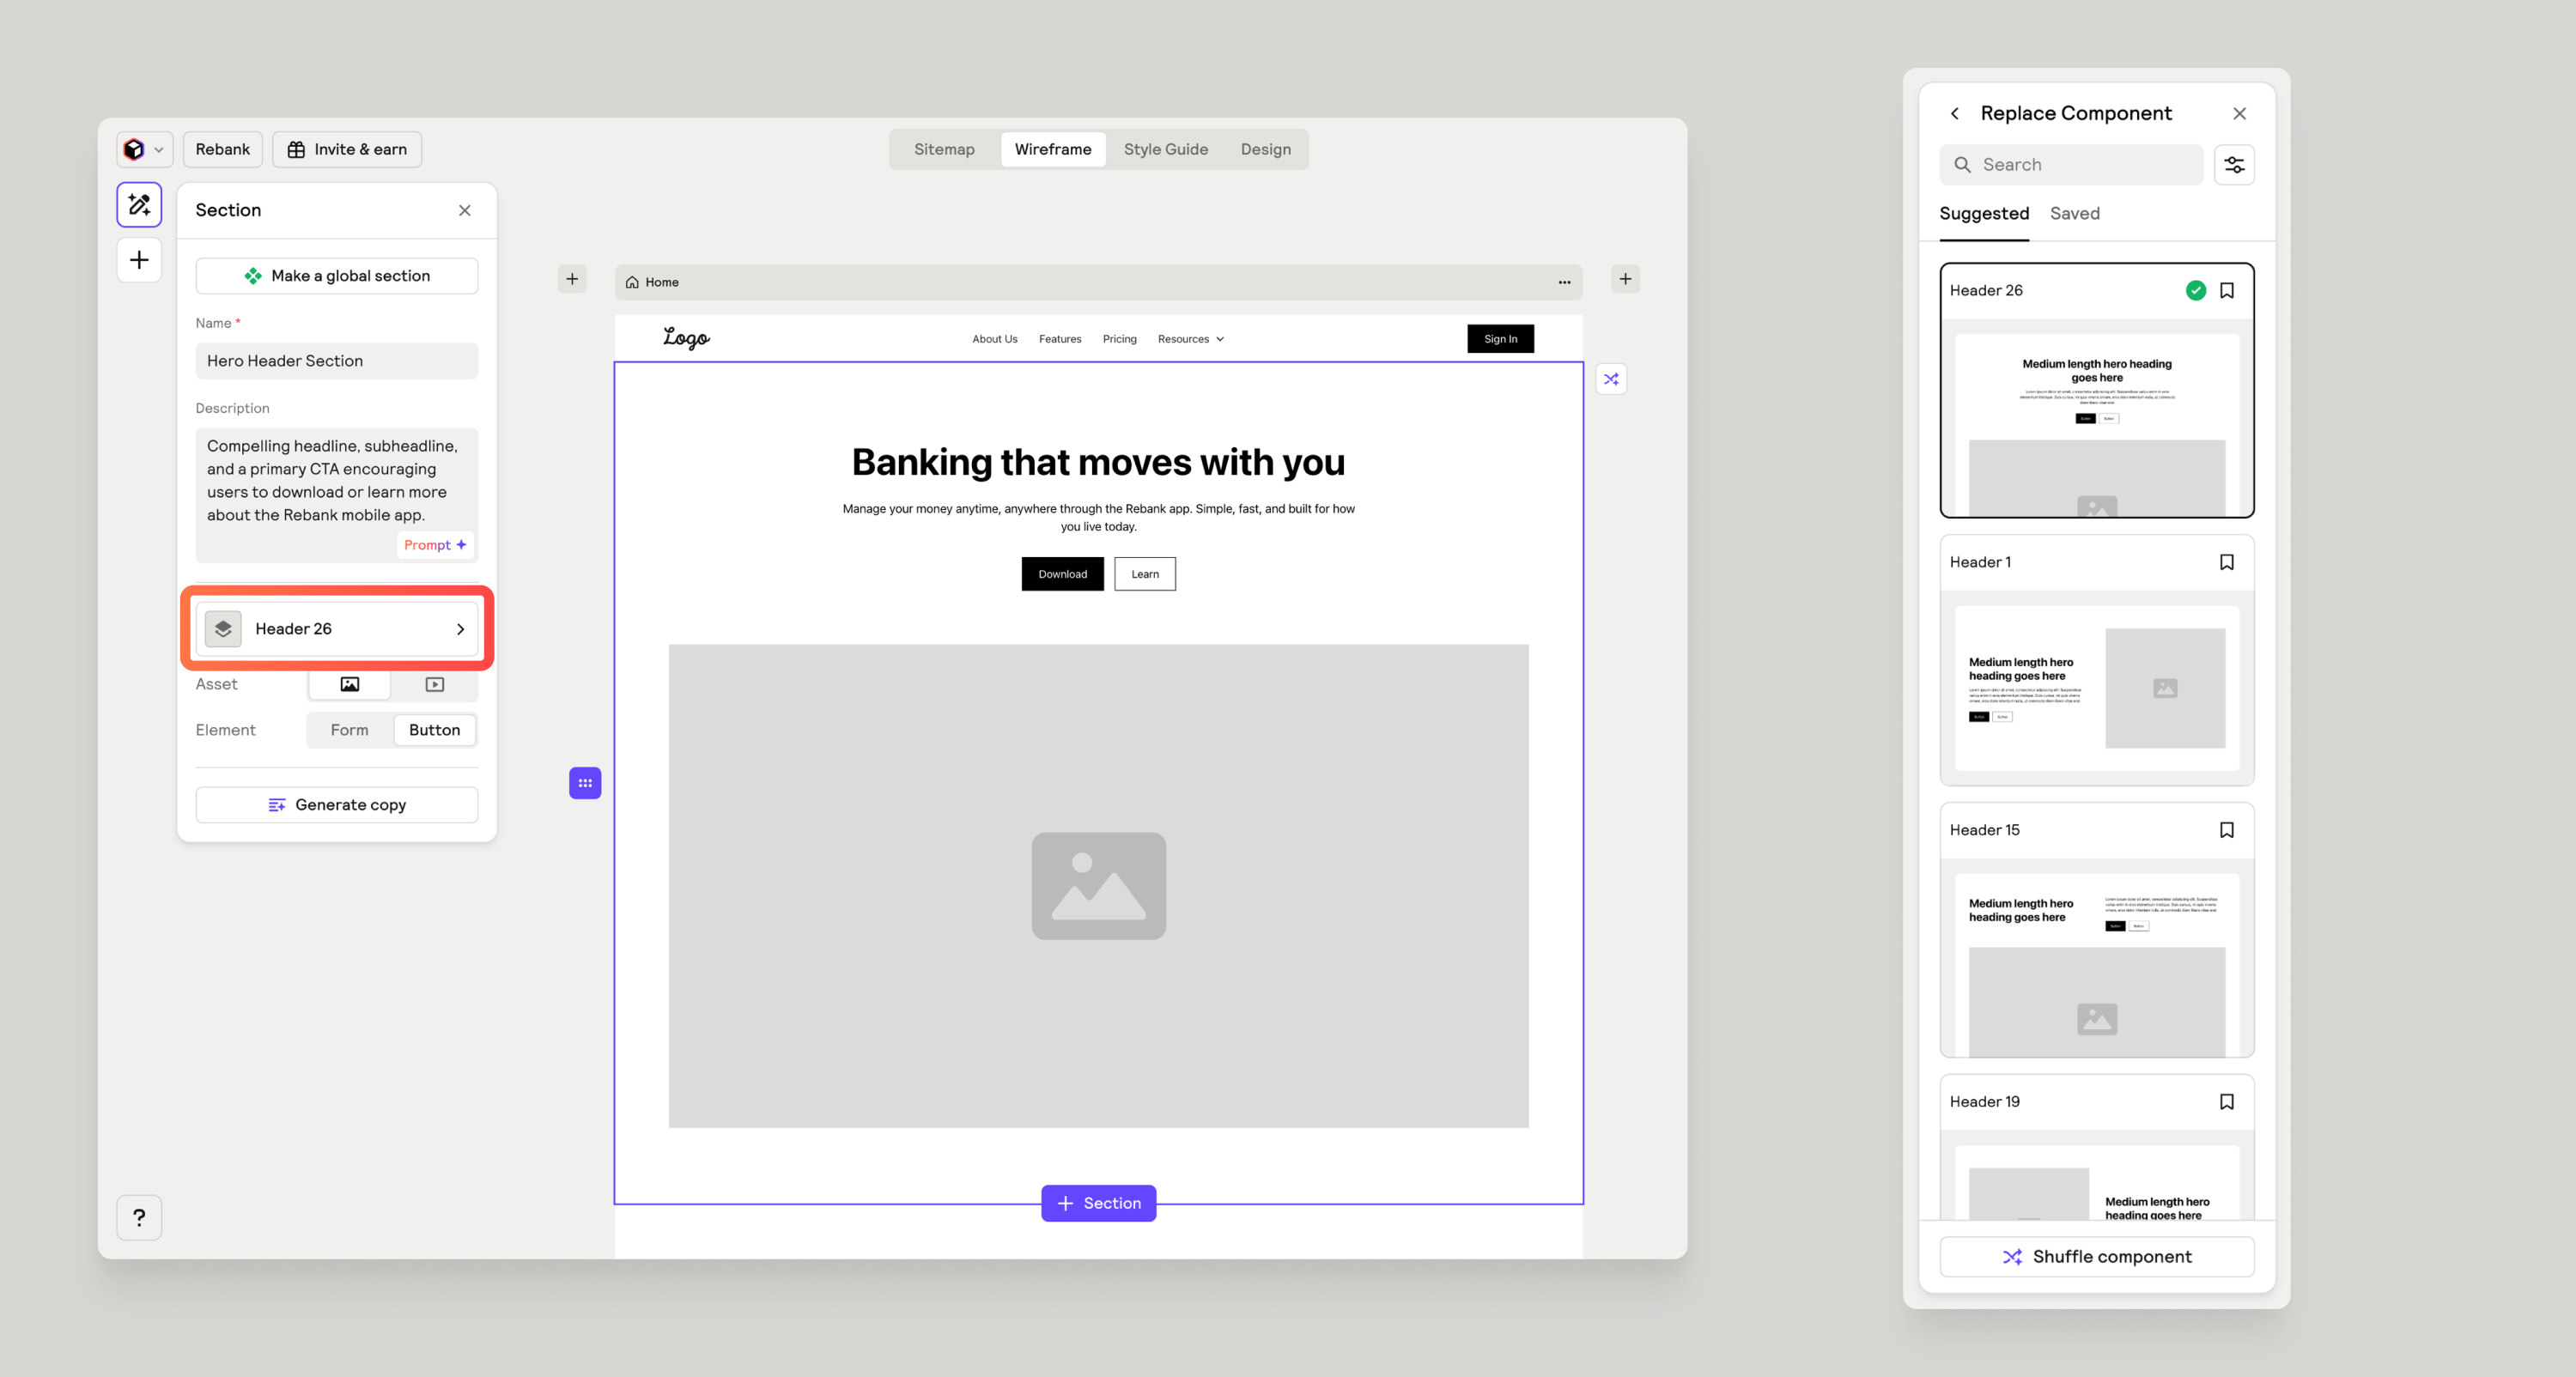
Replacing components
If you want to swap an entire component out, you can replace a component but keep the same copy easily by selecting the component, clicking on the component name, highlighted below and choosing a new one.
Using AI
You can ask AI to help revise the copy of a wireframe very quickly.
Simply select a text element or section and then choose Ask AI and then you will have various options from there. For text elements, you can prompt AI to rewrite paragraph text to be shorter, longer, or to keep it to a certain amount of lines among many other quick options.

Editing copy
You can click on any text within a wireframe to edit the text. You can also click on a text block and regenerate copy.
Reset copy
Maybe you want to use latin filler text across your wireframes - you simply right click on a page and click on Reset Copy.
How to create additional pages
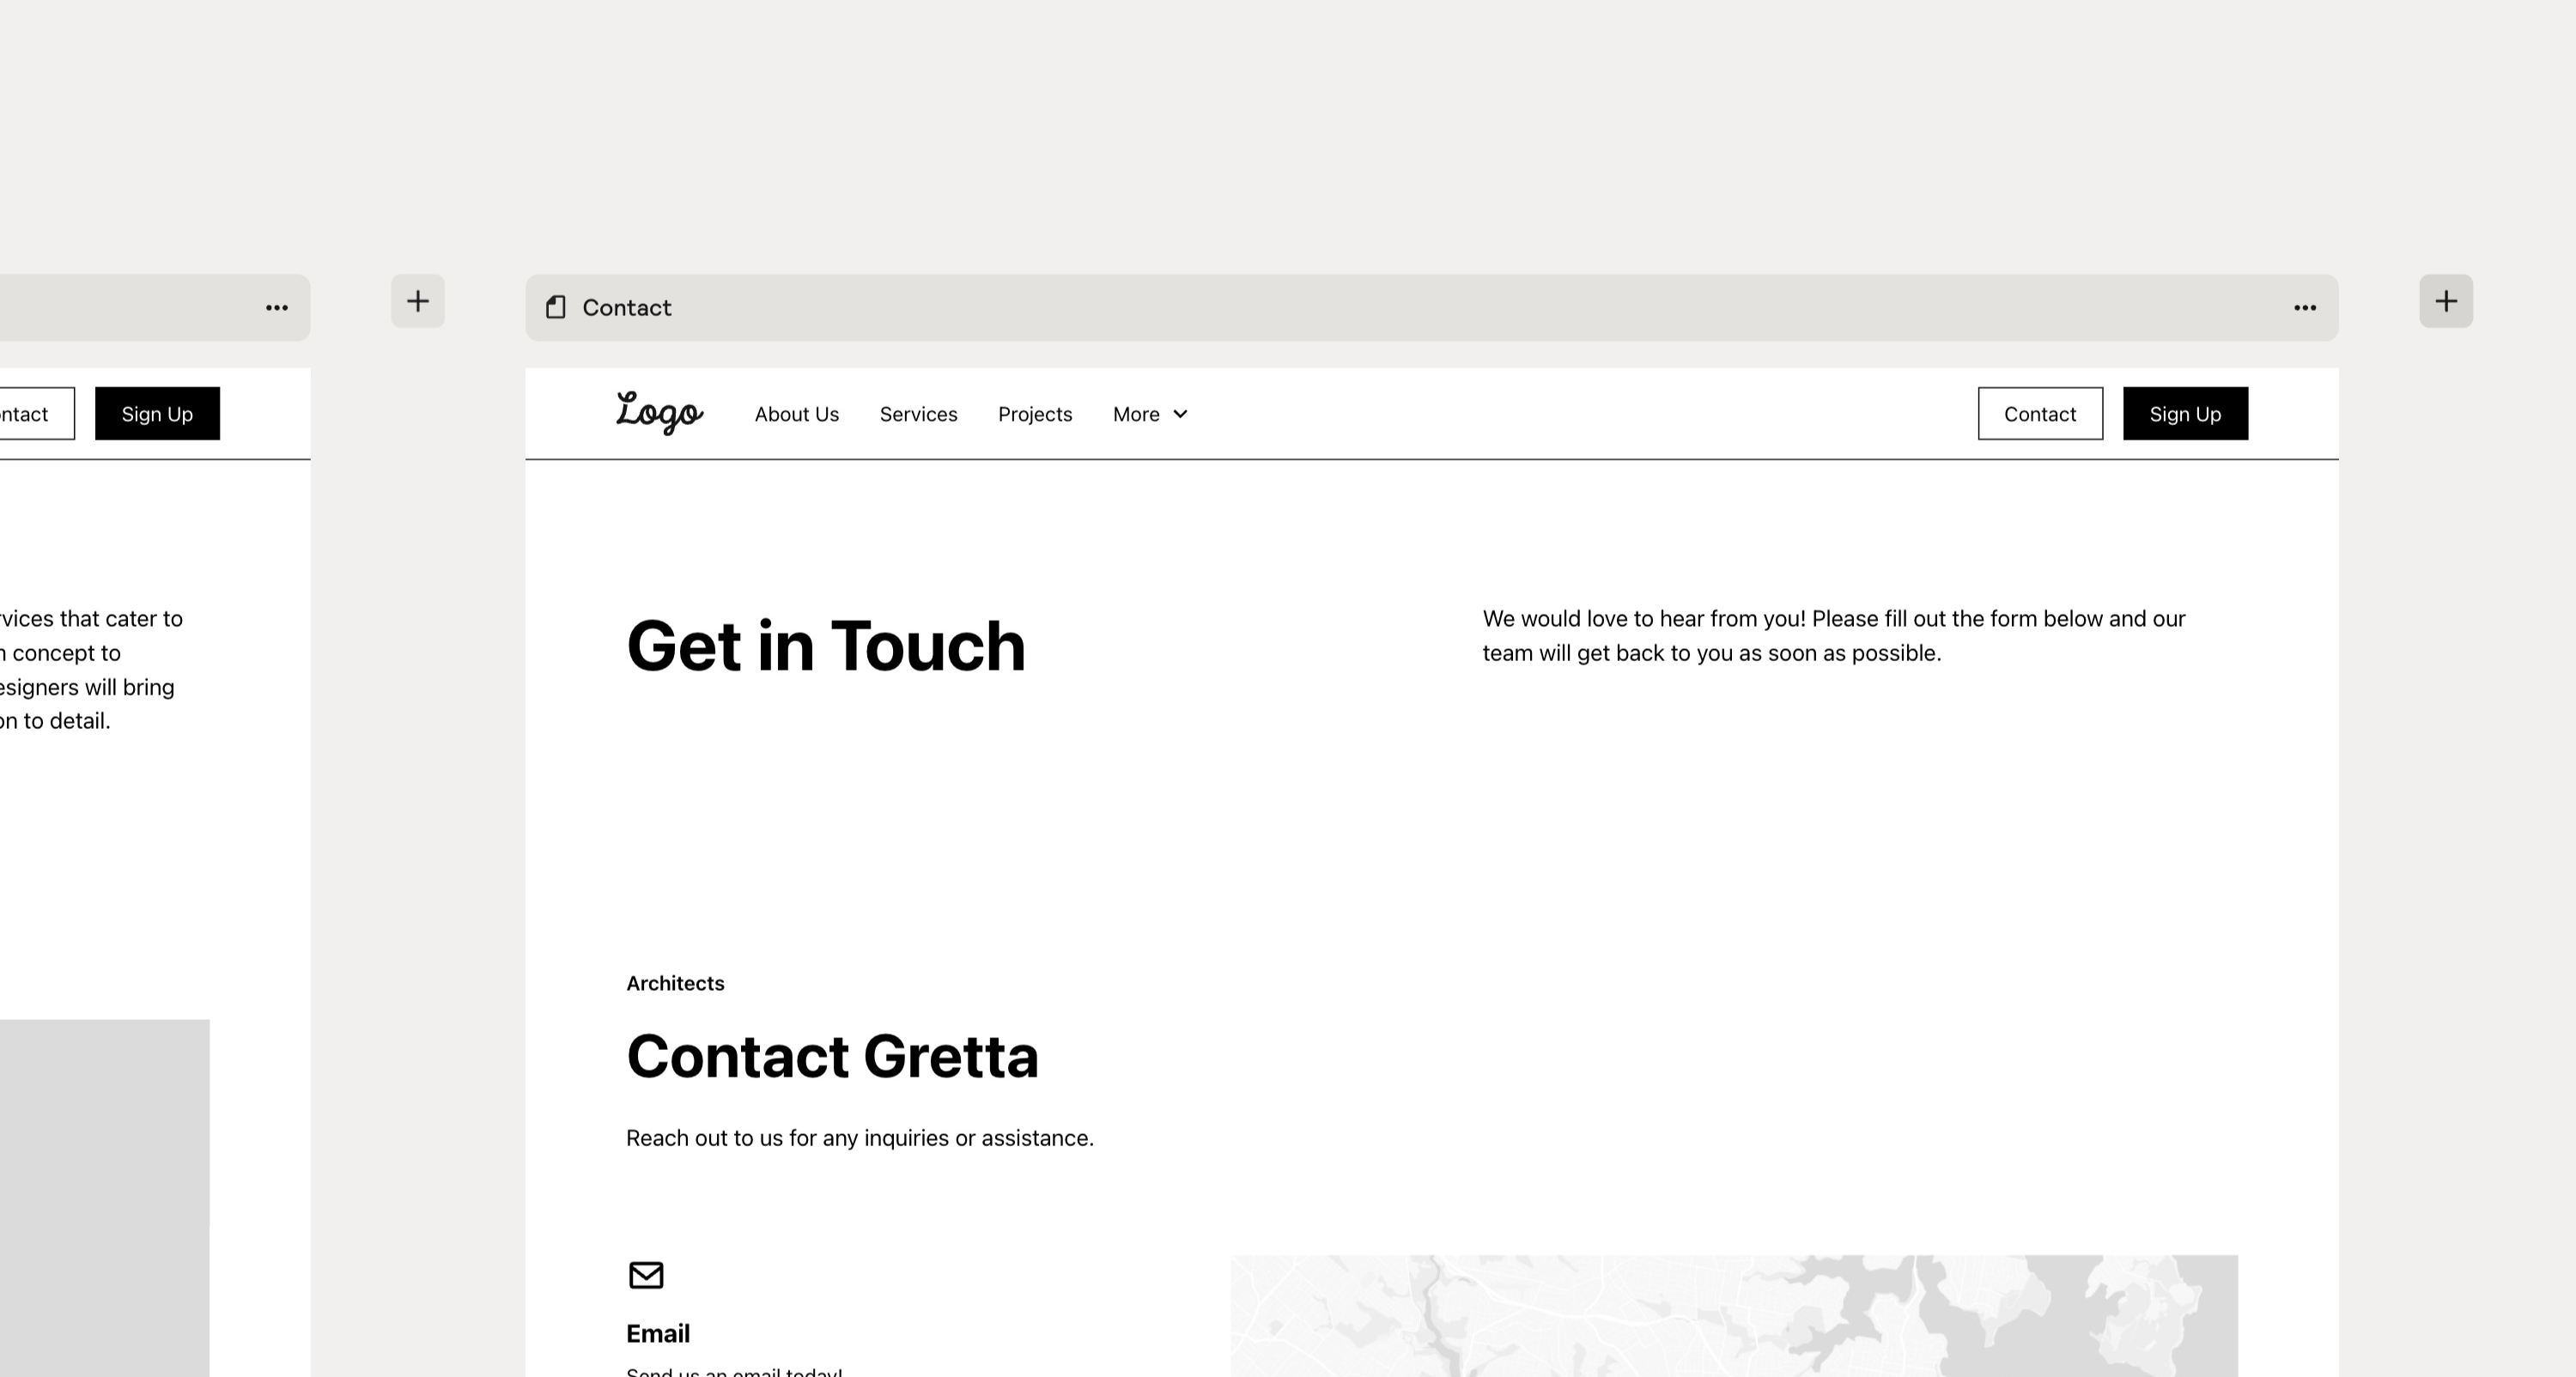
Creating additional pages is as easy as clicking on the plus button between pages or at the end of all your pages.
You can create additional pages from scratch within the wireframe tab or from the sitemap tab. If you create a page in the wireframe tab, the new page will be reflected on the sitemap as well.
You could use the page level prompts to generate the page, or you can build out the page manually.

How to create Global Sections
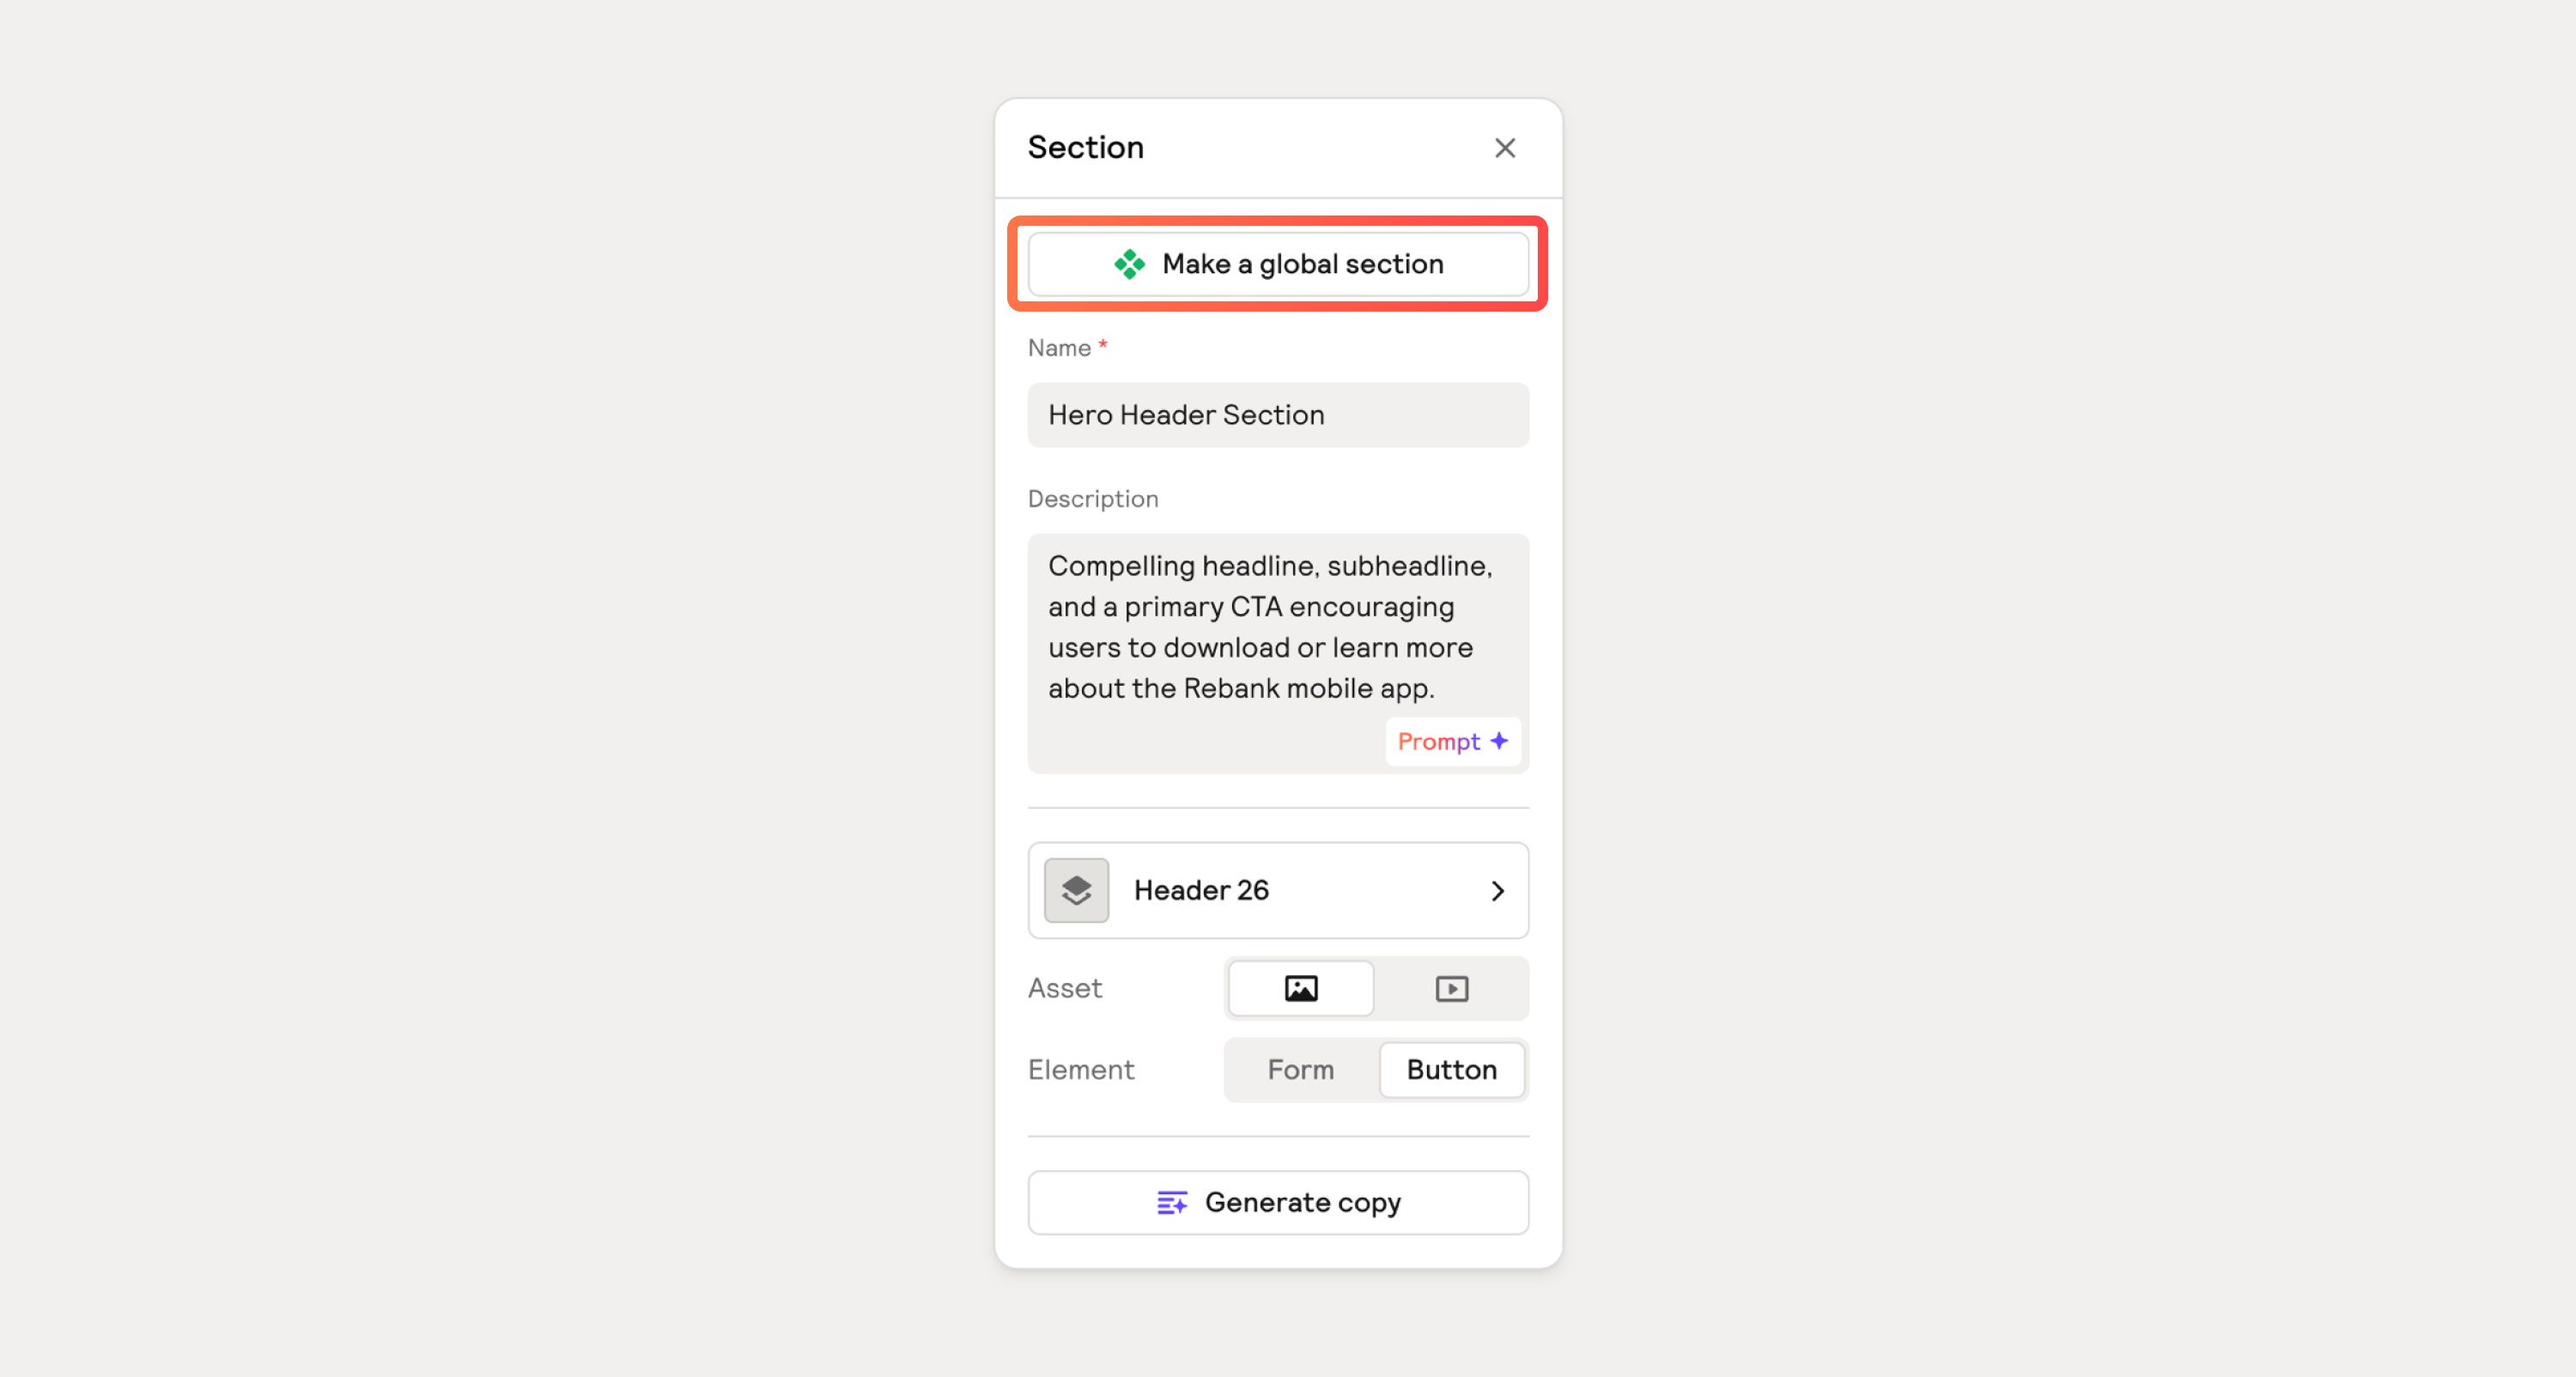
Creating global sections allows you to keep the copy and components consistent across your wireframes.
Simply right click on a section and click on Create global section. You can also click on a section and then click on the Create global section button at the top of the panel.
Once you have done this, you can simply copy/paste this section across your wireframes.
When you import these wireframes into Webflow or Figma, these global sections will become global components on those platforms.
Collaborating with your team or clients
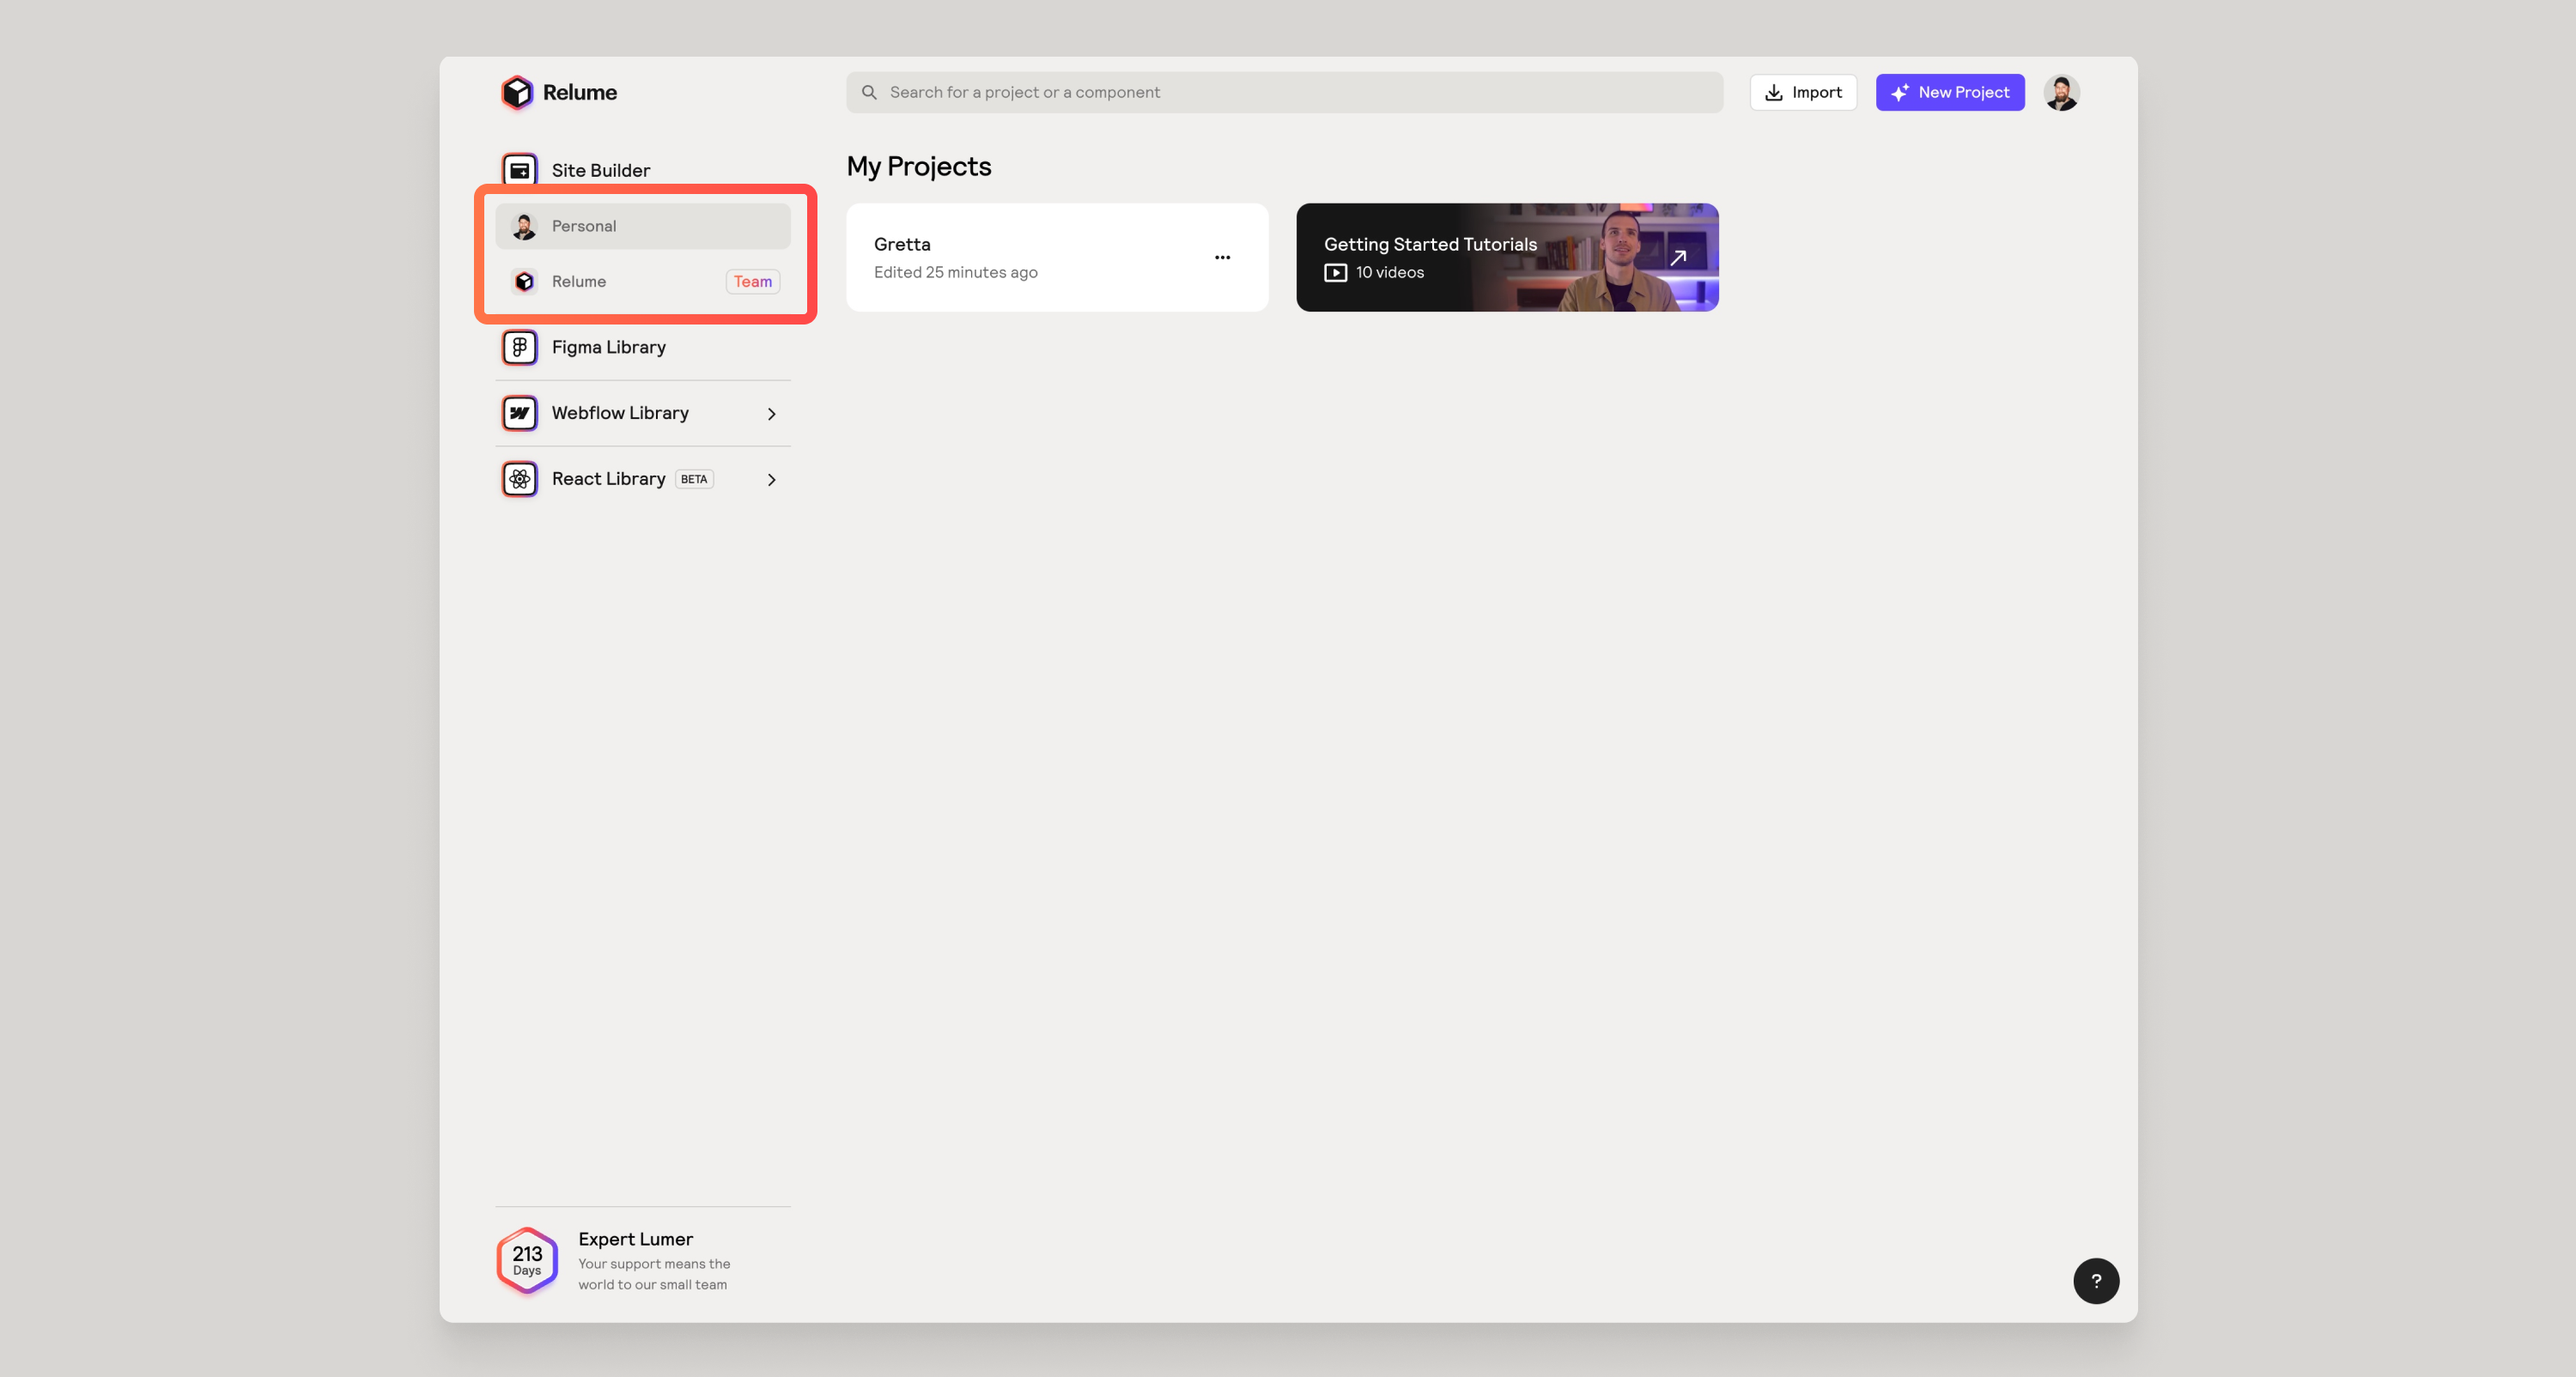
To collaborate with your team you will first need a team plan. Once you have a team plan, you can invite members to your workspace and they’ll have access to your wireframes. Be sure to have your projects in your team workspace and not your personal workspace.
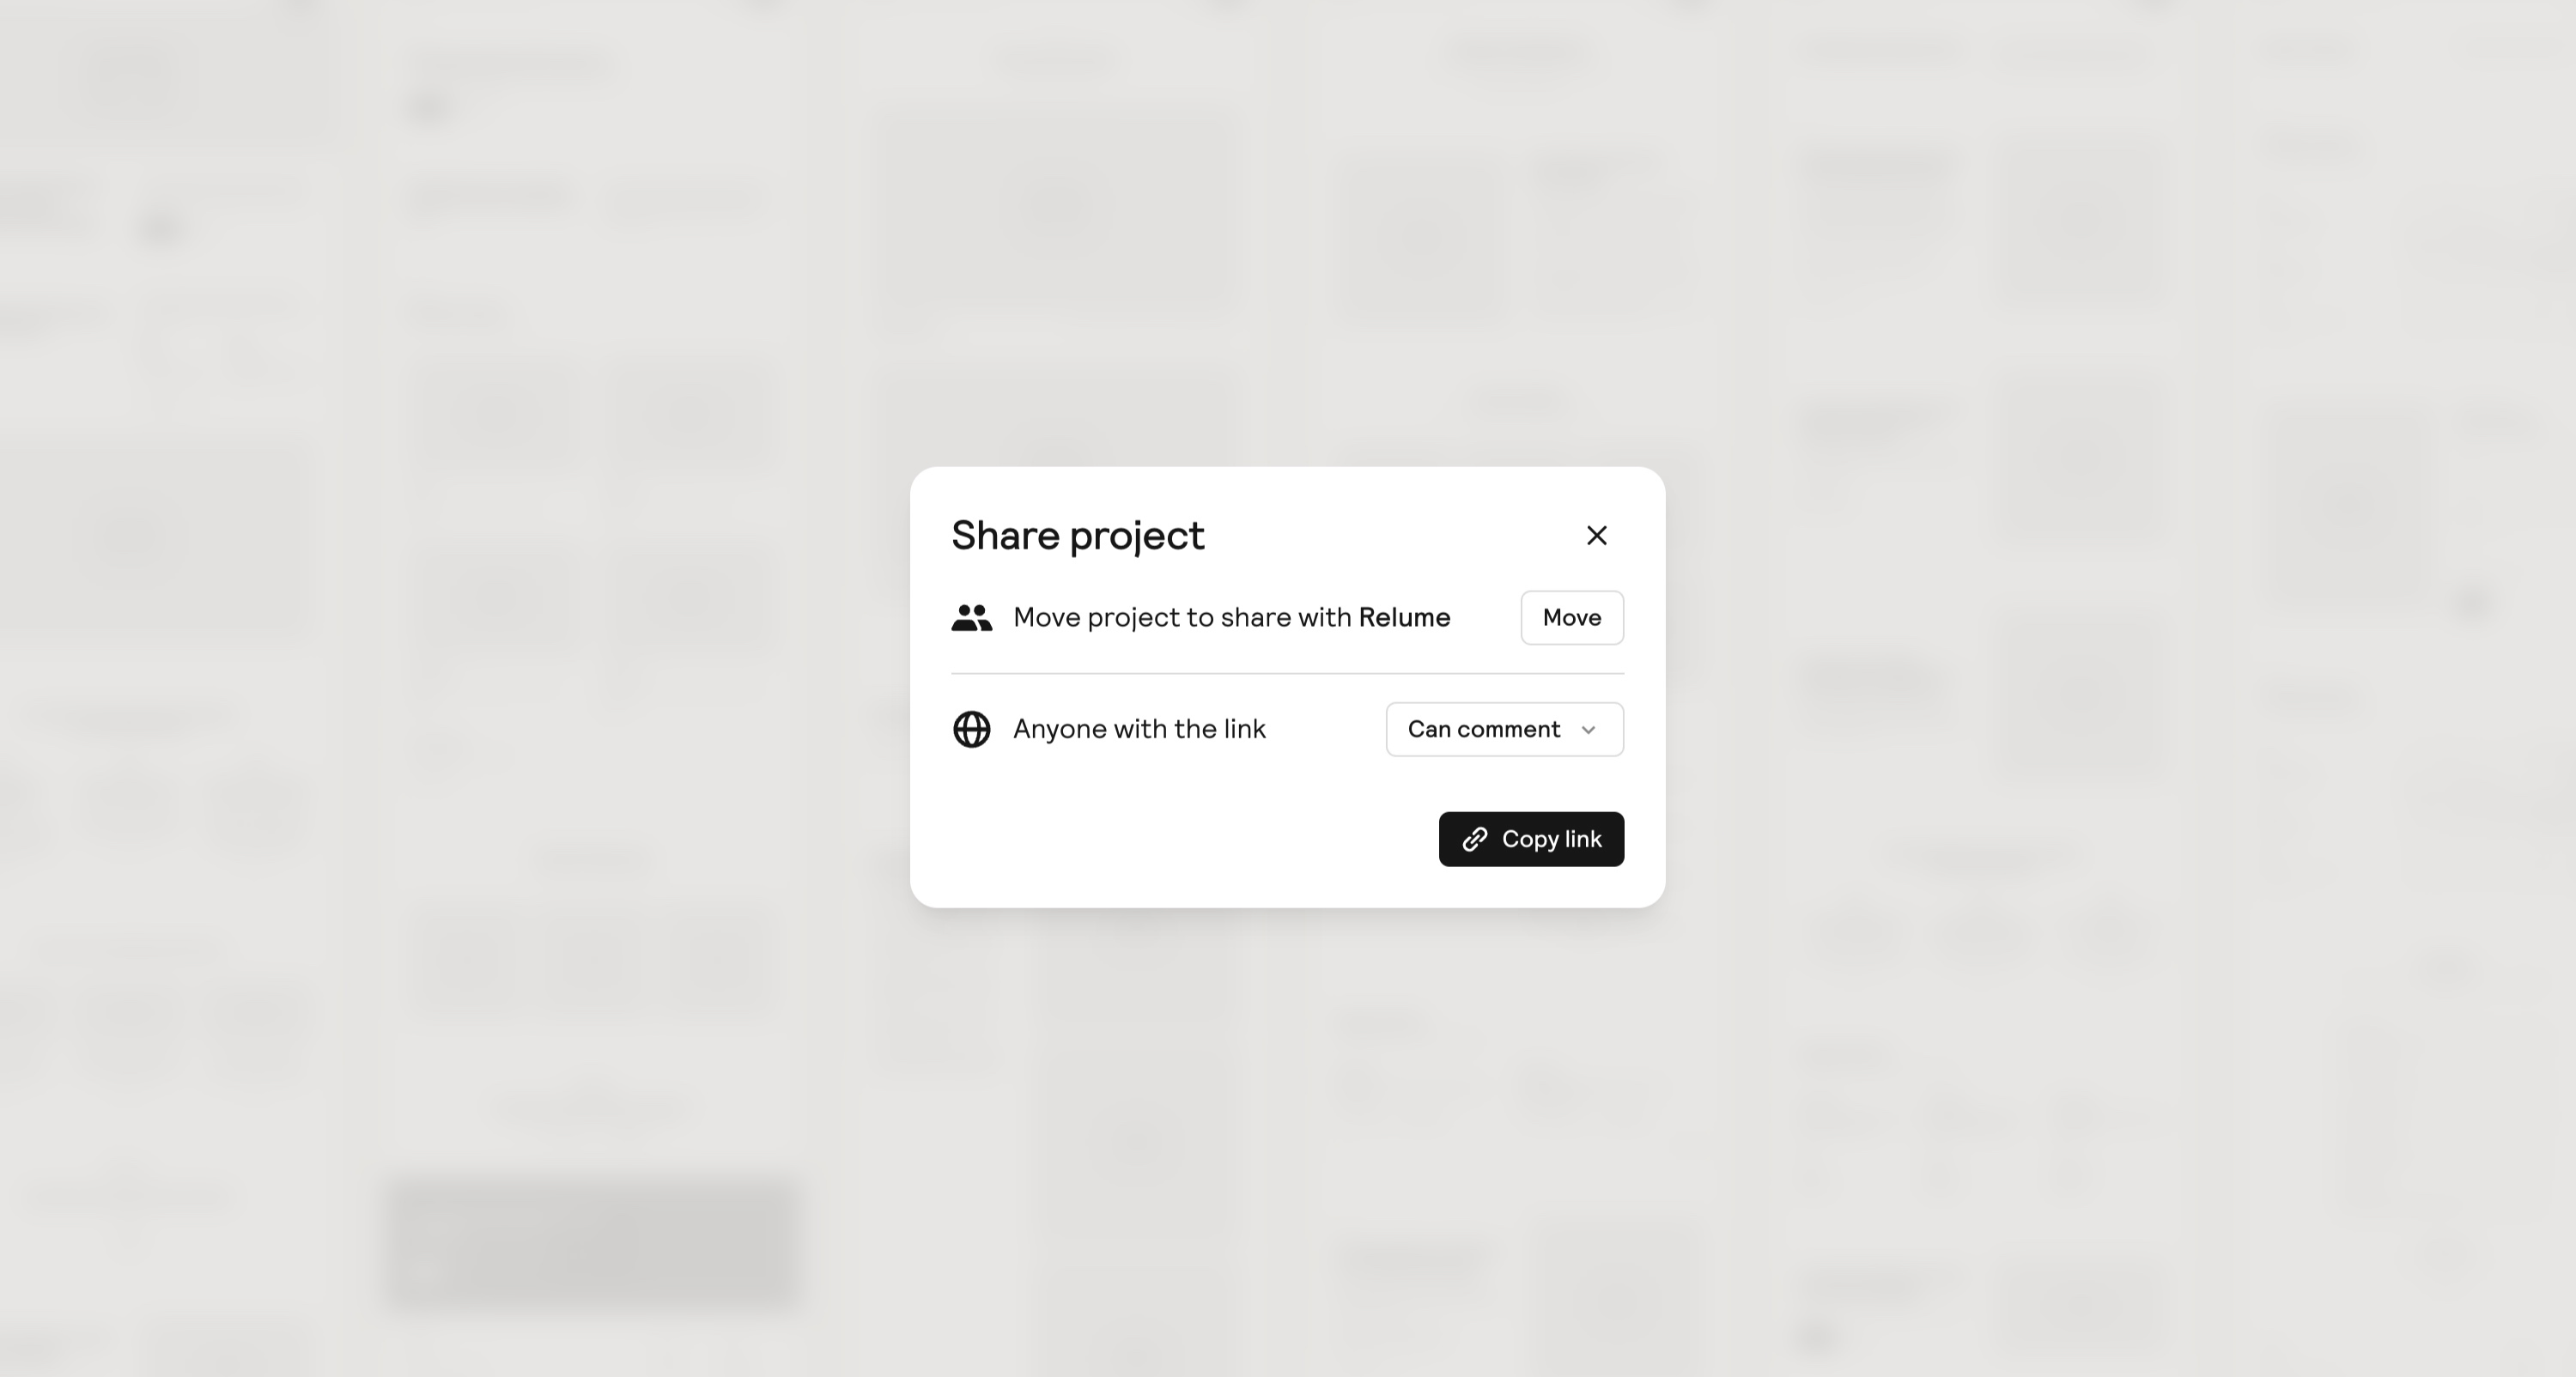
To invite clients to view or write comments, you can simply click on the share button top right, choose what permissions you want, and copy the link.
Commenting
Anyone who has the share link can comment on the project without a paid account. Simply click on the comment button top right to enter comment mode or hit ‘C’ on your keyboard. Hit ‘ESC’ to exit comment mode.
Click anywhere to write a comment. Comments will be placed on a per device basis - so if you wanted to write a comment on mobile, simply switch to that device in the bottom right, and then write your comment.
You can easily resolve any open comments by clicking on the checkmark.
Comments will follow the section as long as the comment was made when that section or element was highlighted. If you delete a section, the comments will also be deleted.

Give feedback
Was this resource helpful?